I've been working on a little project these last few weeks and I've finally finished it! I had these from my son's bed before we moved last summer. I hated to get rid of them, so I thought I could give them a bit of a makeover for our guest bedroom.
I first lightly roughened up the headboards with a sanding block. Then, I added (2) little wooden decorative pieces using wood glue on the tops to soften the straight lines a bit.
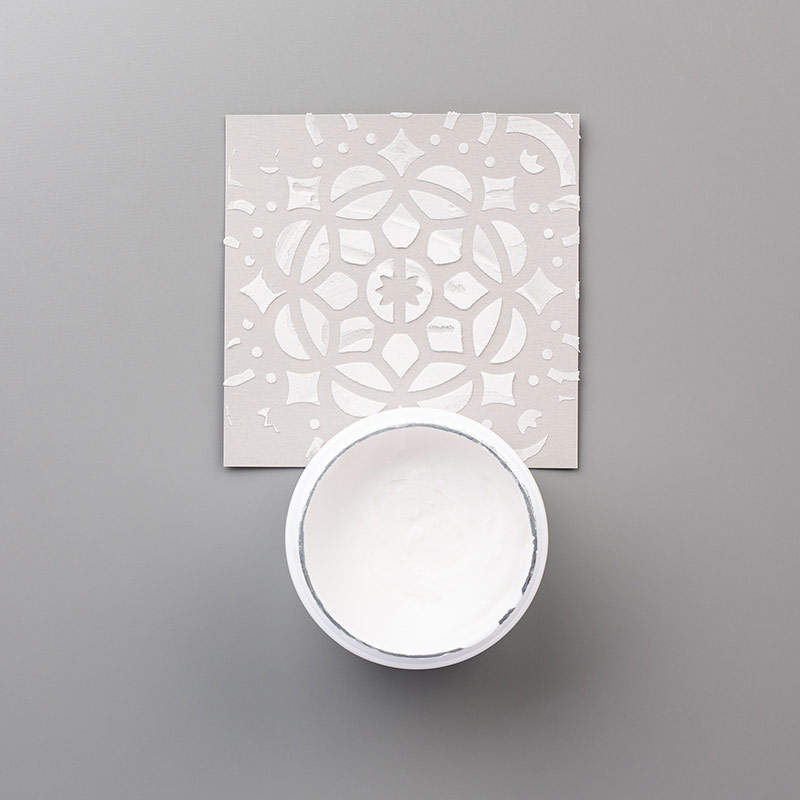
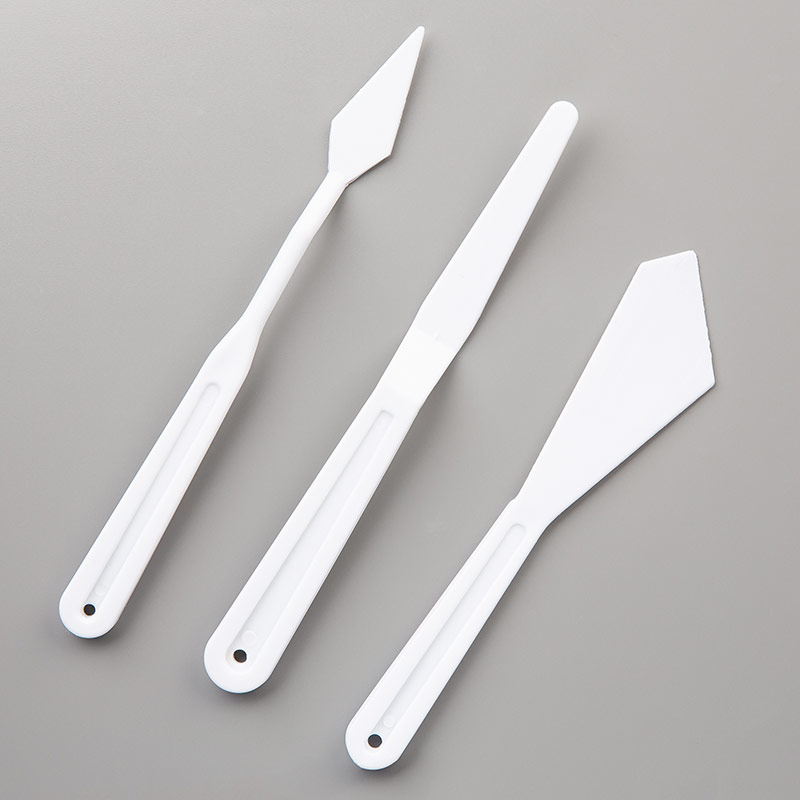
Next, I painted (2) coats of Waverly chalk paint in Plaster. Once dried, I added the embossing paste using the stencil from the Basic Patterns Decorative Masks and palette knife and let it dry completely. ** This is where it took some time as I had to wait until each section was dry before I could add another. Over the course of several days, I got all of the embossing paste onto both headboards.
I added one last coat over the entire headboard to make it all even and to hide any imperfections.
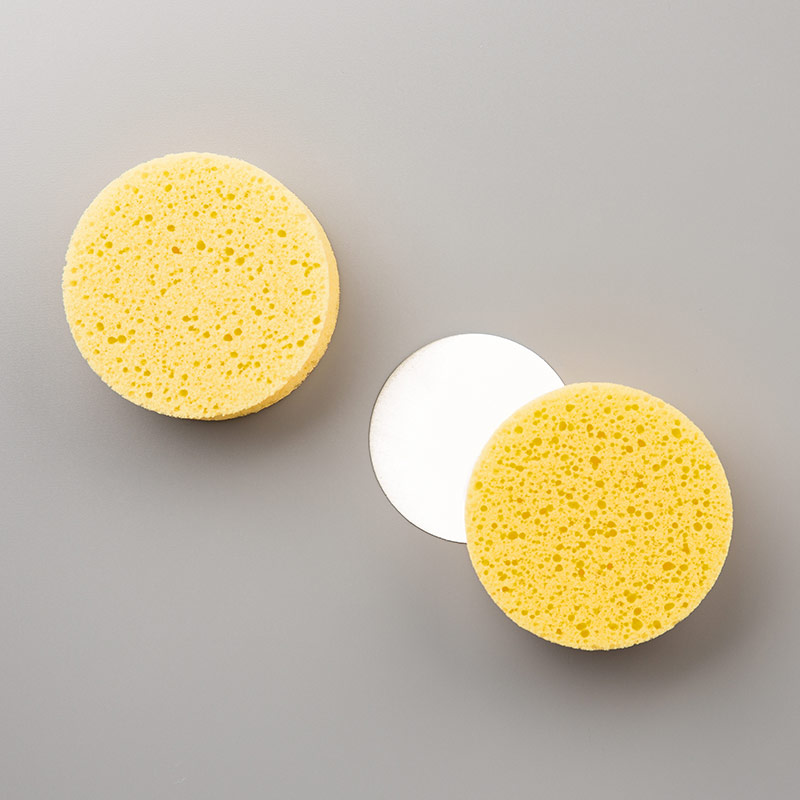
Then, I took a Stampin' Sponge and ever-so-lightly added Waverly chalk paint in Mineral to randomly distress it all over. Once dried, I added the Waverly Matte finish topcoat to finish it off.
And here it is. It's still a work in progress - as I need another twin bed and some wall decor, but I am pretty happy with the way they turned out! The room is almost ready for guests!!

Embossing Paste #141979 $8.00
Basic Pattern Decorative Masks
#150697 $6.00

Palette Knives #142808 $5.00

Stampin' Sponges #141337 $4.00
*Waverly Paint - Walmart
* Wooden Fineals - Hobby Lobby
Happie Stampin'!
~Melissa
~Melissa


No comments:
Post a Comment